In this tutorial I will show you how to replace the Nintendo 64 controller’s analog stick in 9 easy steps. I’m no handyman by any means so if I can do this anyone can.
What you will need
- A Nintendo 64 controller.
- A Phillips head screwdriver.
- A replacement joystick. I bought mine from Amazon – http://www.amazon.com/gp/product/B009MRZAUC?
Keep in mind that these replacement joysticks are not official so proceed at your own risk.
 Step 1
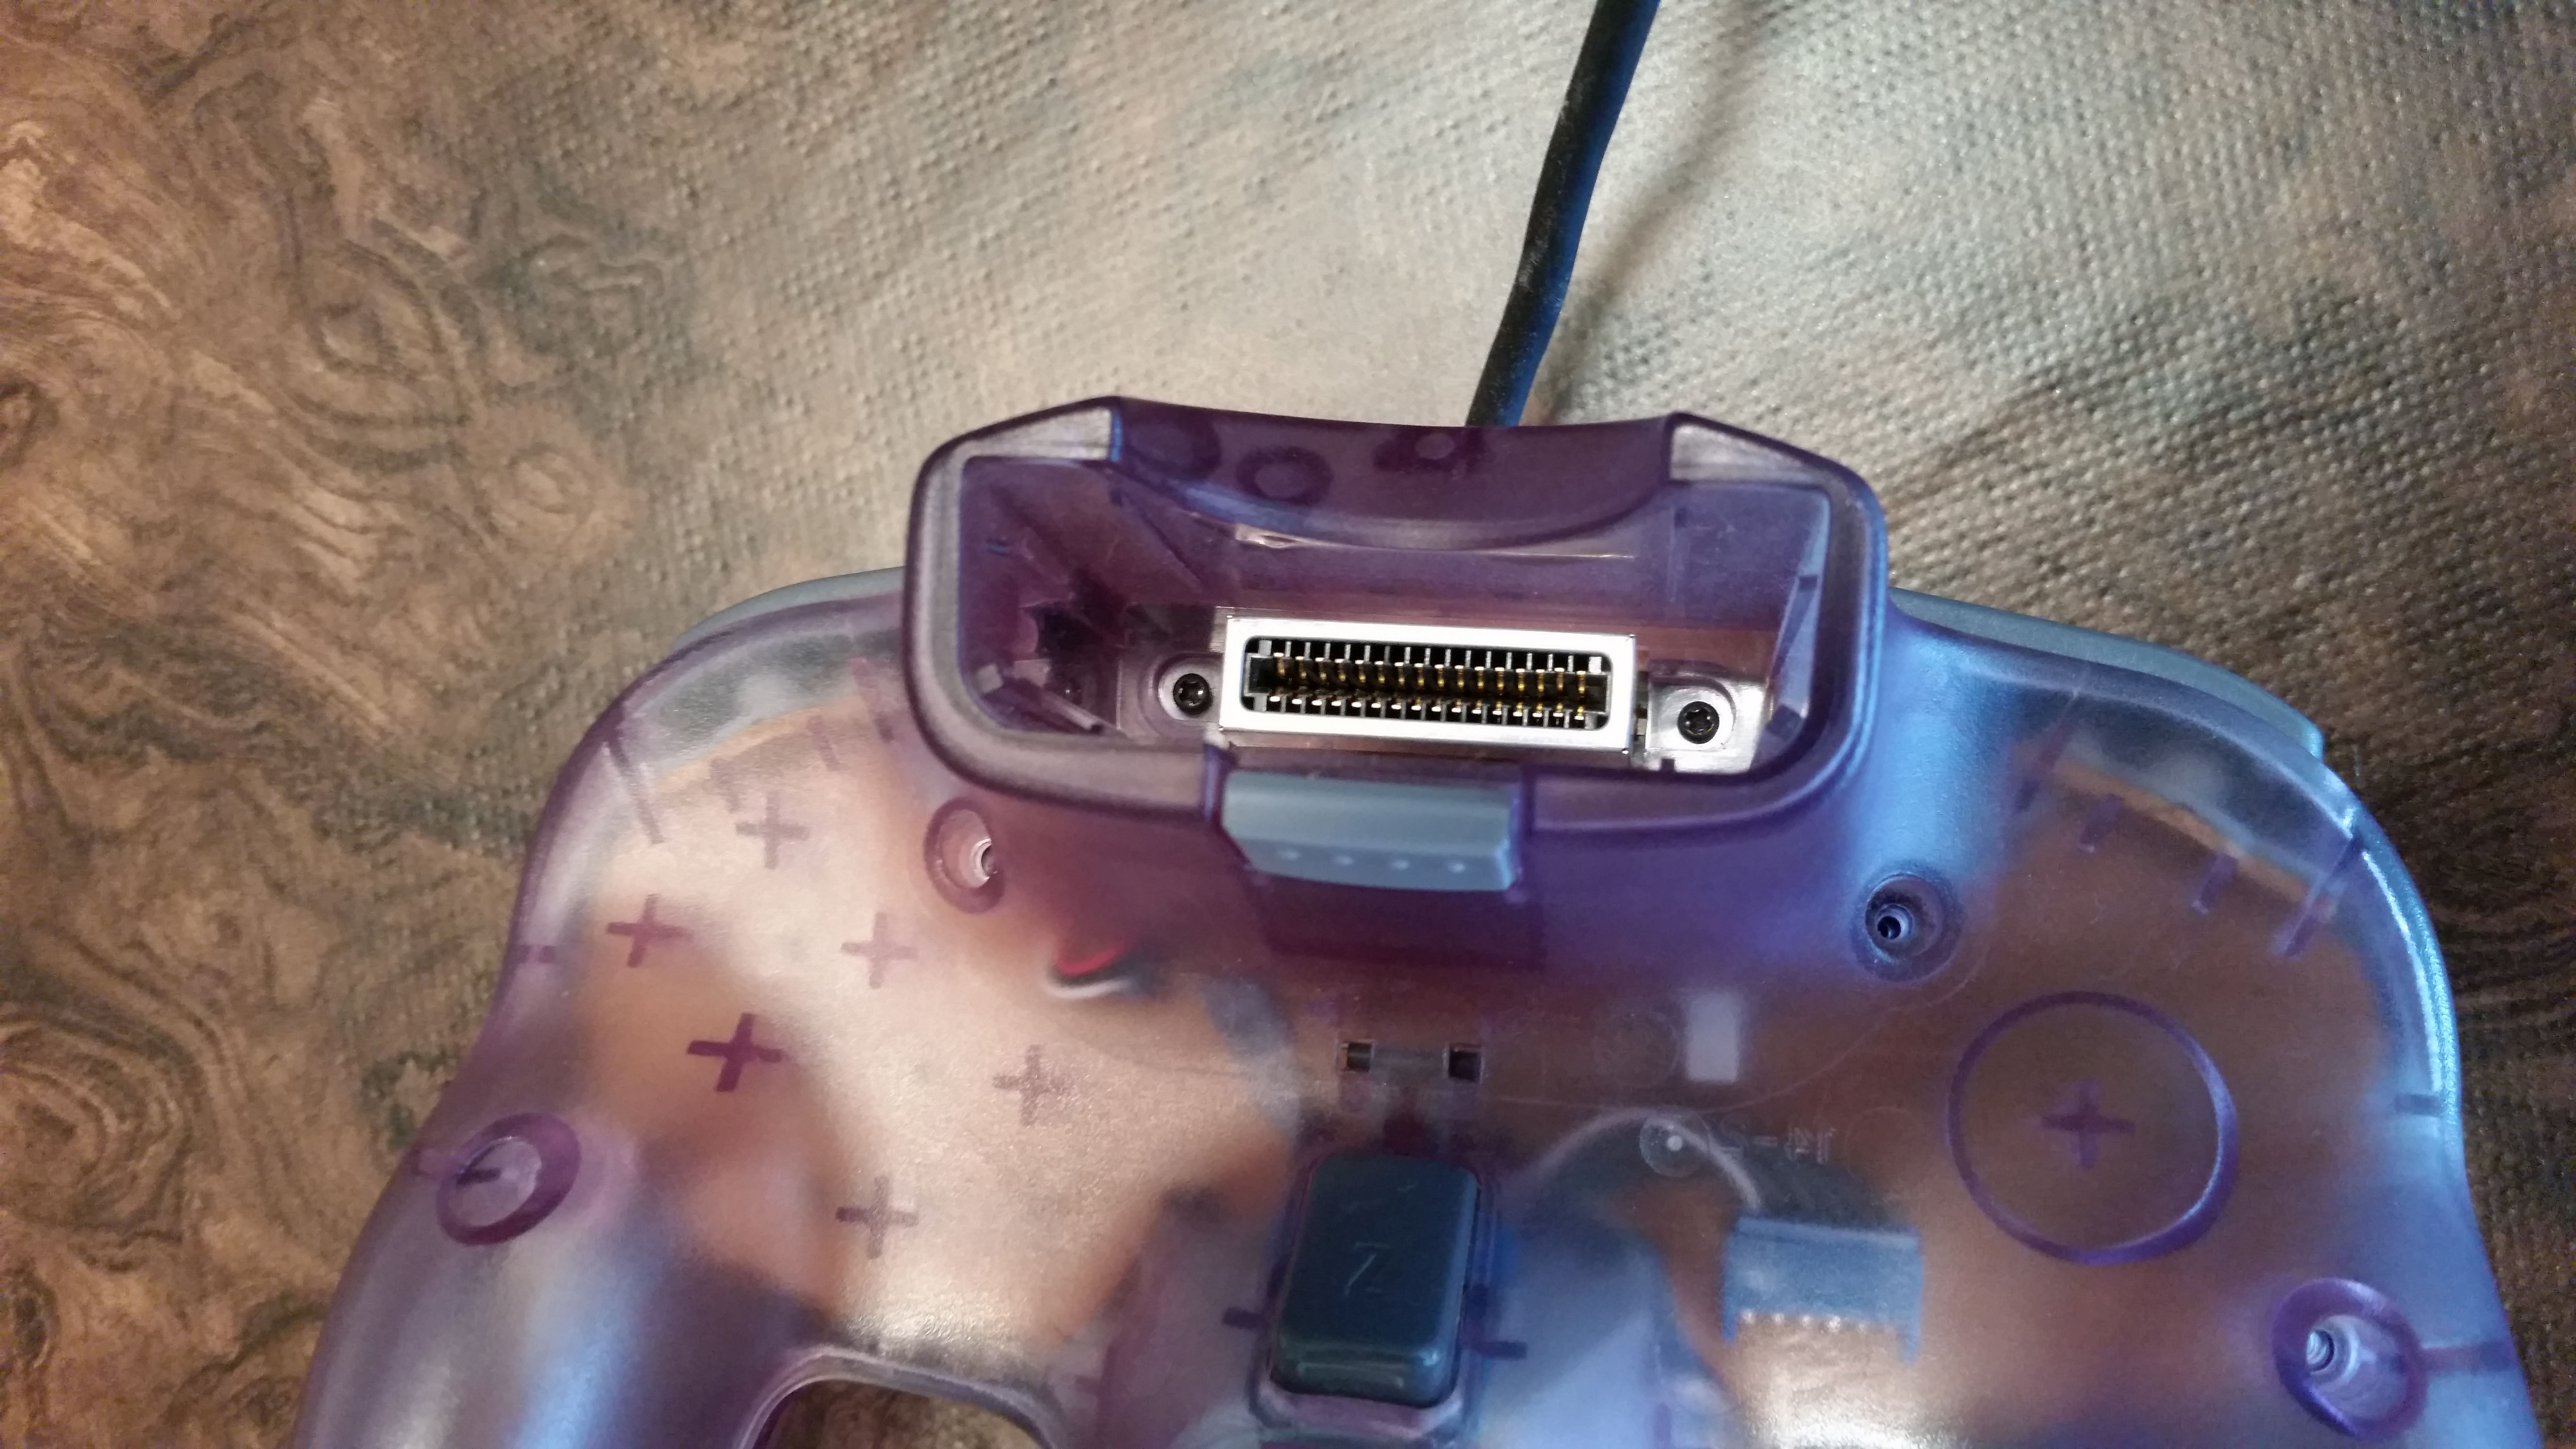
Remove the screws from the back the of the controller.
 Don’t forget about the screws in the memory cartridge slot. You may need a smaller screwdriver for these.
 Step 2
Gently pry the controller apart. The shoulder buttons may pop out on their own. If not gently remove them.

 Step 3
Slide the Z button circuit sensor out from the analog stick housing.

 Step 4
Remove the screws from the back of the analog stick housing.
 Step 5
Disconnect the cables from the board via the blue connector.
 Step 6
Remove the analog stick and connect your replacement joystick to the board via the blue connector. Some of these adapters may have a tight fit for the blue connector, which is fine and can be sanded down if needed.
 Step 7
Be sure the screw holes of the joystick housing line up with holes in the controller housing and screw it in.
 Step 8
Slide the Z button circuit sensor onto the joystick housing. Place the L and R buttons on this side of the controller housing to save some trouble putting it back together.
 Step 9
Connect the two controller housing parts together and screw it back together.
 Congratulations
You have successfully replaced the Nintendo 64 controller’s analog stick.
