To start off you WILL need a modded XBOX. If you haven’t already modded your XBOX you can refer to my previous tutorial in order to do so.
Here’s a list of things you will need.
- A softmodded original XBOX.
- An IDE Pata HDD (Hard Drive). I believe you can go up to 2TB for this but here is a less then ideal compatibility chart for this.
- A PC for transferring files.
- A USB port on your XBOX or FTP program that you can find on the web.
- A Bit screw driver with size T8, T10, and T14 size Torx bits.
- An IDE Y-cable.
- An app called Chimp. This is used to transfer the data.
WARNING: this tutorial will require you to swap out your hard drive while the system is on. If that makes you uncomfortable then stop now, or grab someone that’s willing to do it.
I would recommend hooking your new hard drive up to a computer and formatting it. It could help with the transfer and also be a great way to test the hard drive. I helped a friend with his XBOX and his drive was brand new and didn’t work.
Once your comfortable with the state of your hard drive you will need to use Xplorer360 to transfer the contents of the chimp folder to your flash drive and then your XBOX.

You can also use FTP but I don’t have a recommended app for it. You will need to transfer the folder to the apps folder on your main partition of your XBOX. then transfer the linuxboot.cfg to the root of your partition. If you followed my previous tutorial you can transfer it by using file explorer below the system option on your modded XBOX dashboard.

File explorer looks like this. If like me you don’t have an apps folder you can make one in the program.

Press start to bring up this menu and select “new folder” then name it “apps” and copy the folder in there.

When copying, the file selected on the left will be transferred to the right. You can switch sides by pressing the R and L triggers.
After you transferred the files to there correct locations, shut off your XBOX and ready your screw driver. You will need to T14 for the casing. Flip the system over and look at the under side. Each spot circled in red is the locations of each screw. Two screws will be under stickers. Either rip the stickers off or feel around with your finger and poke a hole in them.

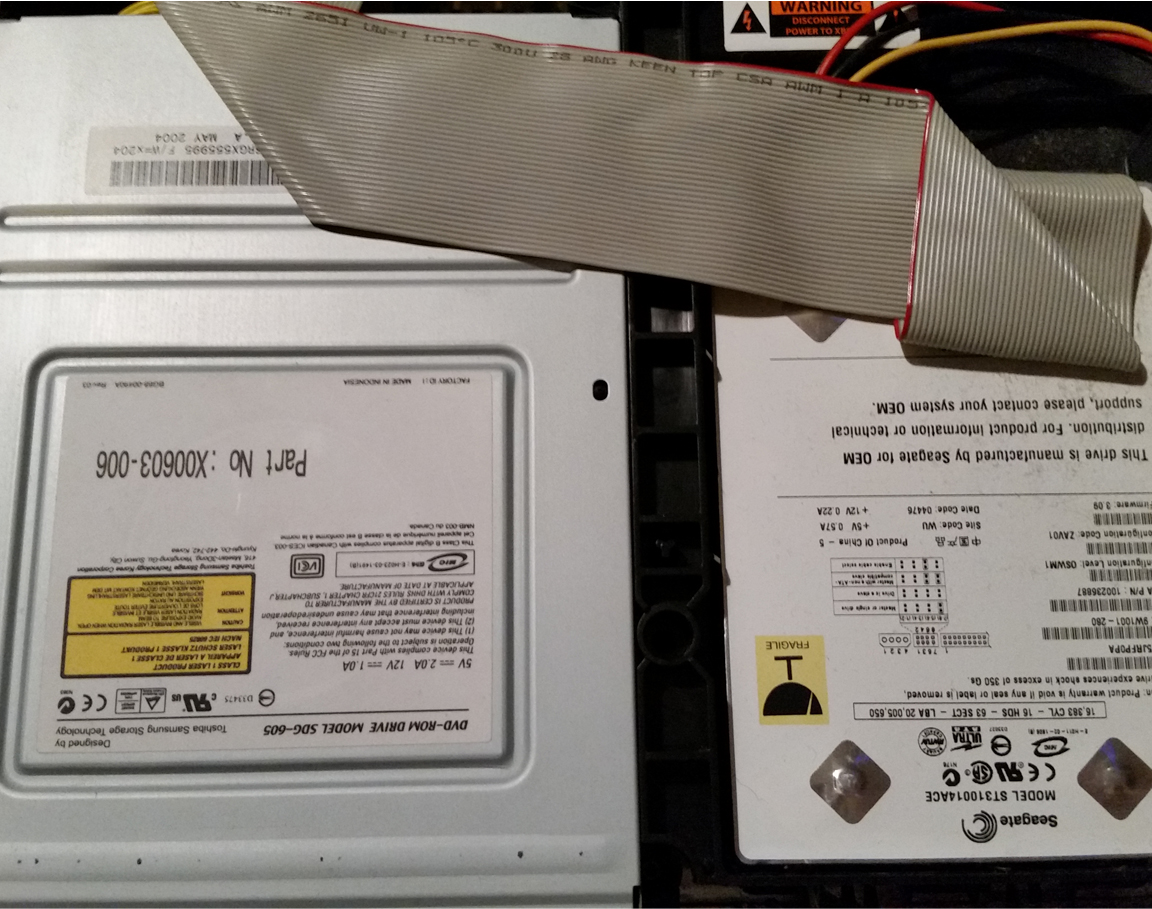
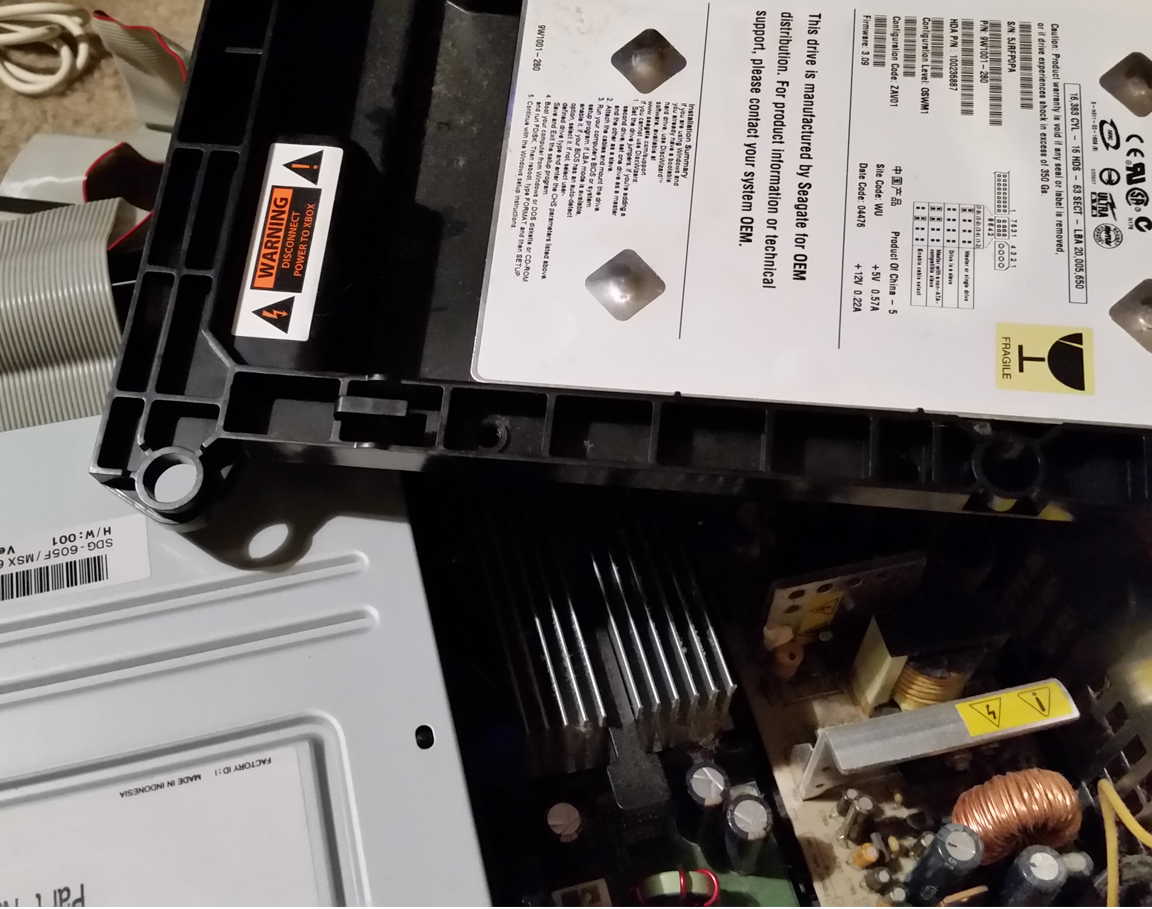
You will next need to flip the console over carefully. Make sure you keep hold of the bottom so it doesn’t drop out on you. Now pull the top off and you will see the disc drive (Pictured Left) and HDD (Pictured Right).
You will need to pull the IDE power cable from the HDD and attach the Y-cable to it.


Plug one end into the HDD and plug the other into the New HDD that you will be replacing it with. You will need to set your New HDD to slave or cable select as well. You do so by moving the jumper to the slave or cable select slot which should be marked or labeled on the HDD. If your curious what that means. It refers to the Main HDD (Master) and the Secondary HDD (Slave). In this case the HDD that is inside the XBOX already is the Master HDD and the New hard drive that you will be swapping in is the Slave.

This is the part where you will grab your friend you bribed into doing this for you. Hook your console up the way it is. Don’t try to put the top back on trust me it wont fit. Power on the system and wait for the menu to show up. Once there you will need to remove the ribbon cable from the Disc drive and plug it into the New HDD.


Now load up LPartx. LPartx is the Chimp program you copied over earlier. This should be under the Applications option on the menu.

You should be greeted with this screen.
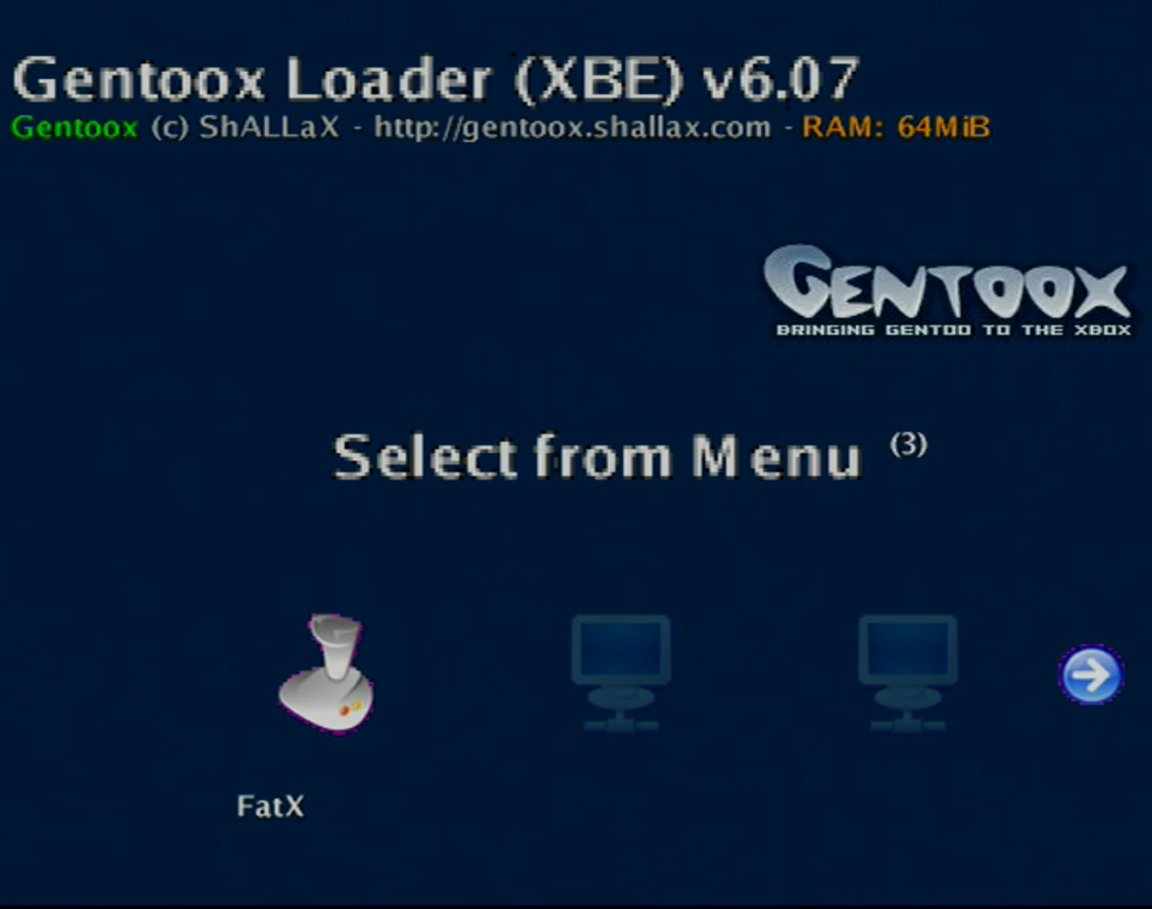
Remember that linuxboot.cfg? If you didn’t copy it or perhaps put it into the wrong place. You will be missing the “FatX” option and that is the only one we need for this. If its not there no worries just go back and place it in the correct spot.
Select the FatX option and you will be at a DOS looking screen with a penguin. Isn’t that great? After that screen fills with text, it will ask you to press enter.

Don’t freak out and scramble for a keyboard, you just have to press “A” on your controller. You should then see a menu with many options. Choose the one that says “Clone from master to slave”.

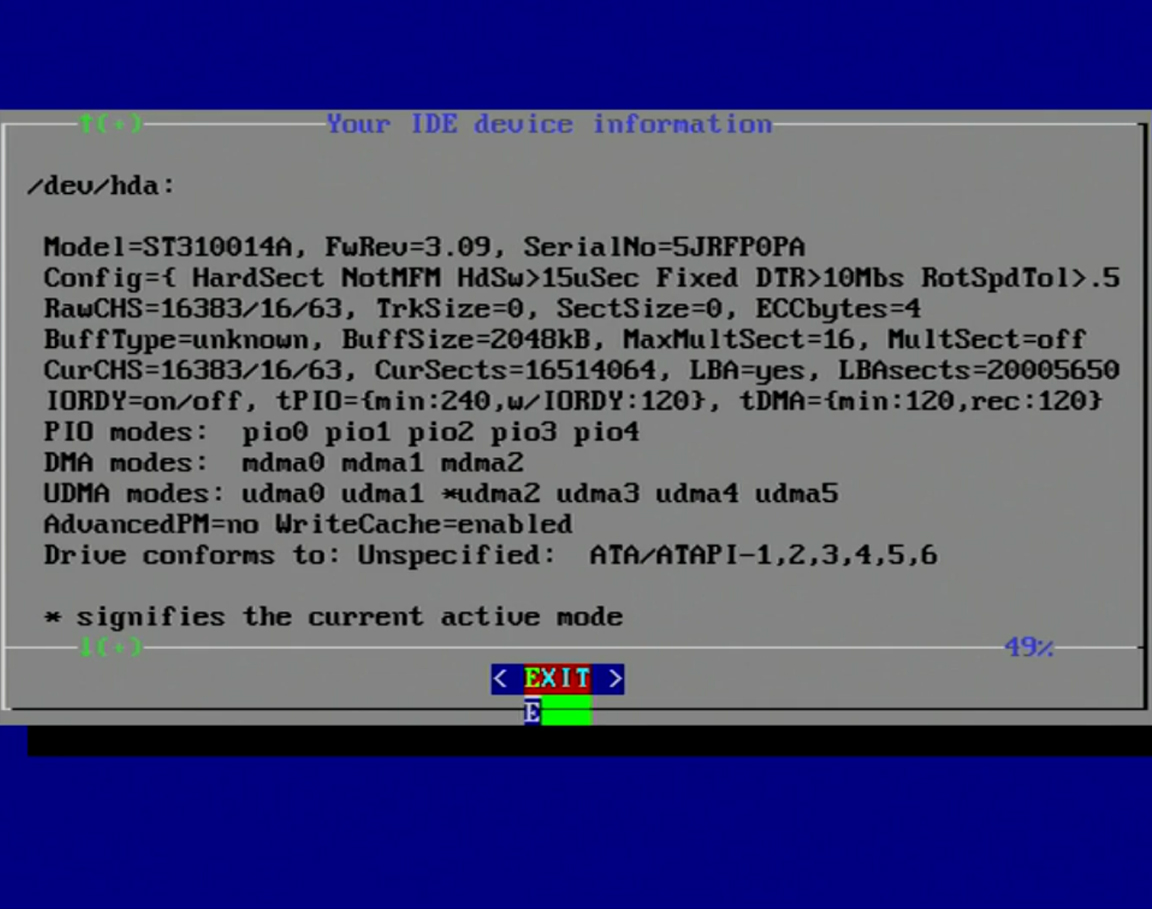
The next screen is some information about your HDD, that if you’re interested you can read. Otherwise just hit exit.
Some more random text here and some blue text at the top that seems a little unnerving. No worries it wont wipe your original HDD. That wouldn’t even make sense. Just tell it yes.
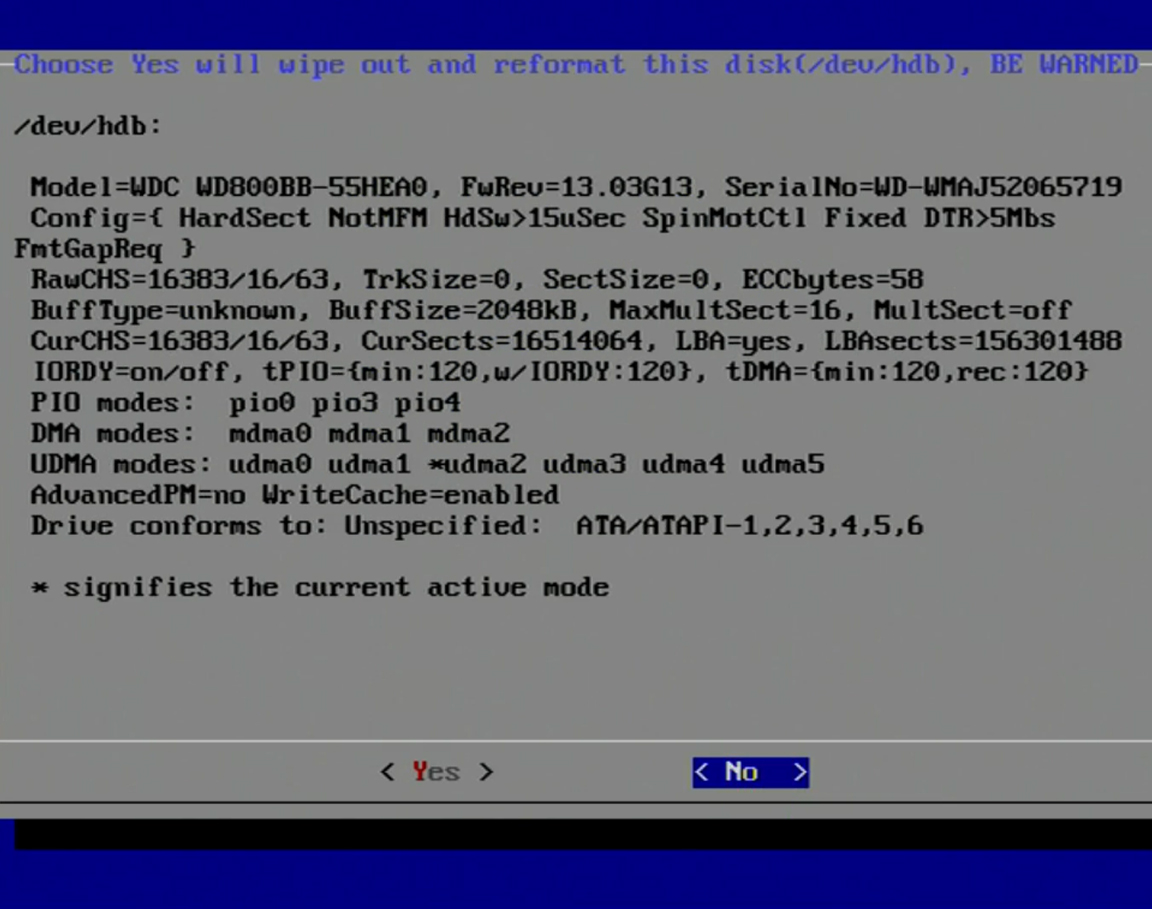
You have two options now, your choice really. Full disk will take longer and it’s not really necessary. Just choose one that you feel you need, either choice will work. Just remember you need to check the one you want with the “X” button.

More choices! Again either choice will get us where we need to go. Pick whichever one you want.

This screen is for those that picked “Selective” a couple of screens ago. You need to have C and E selected. The other two are optional and don’t really contain any important data or saves. They will contain games if you chose to rip them. Select them if you want to transfer those.

You will then see a progress bar if you selected to see it. Go grab a sandwich and a nice cold drink this is gonna take a bit. Roughly 5 to 10 minutes depending on how much you had on your old HDD. After that you will be back at the main menu of this program.
Now choose “Lock slave drive” to prep your new HDD to replace your old one. You will be asked where the key source is. Choose “From Motherboard”.

Once again you will back at the main menu. Select the shutdown option this time and wait for it to power down.
After the system shuts down completely return the ribbon cable to the disc drive. We will need to do a test because despite how careful we were there is a chance that it could fail. Unplug the ribbon cable from the old HDD and plug it into the new one. Be sure to change your new HDD’s jumper from slave to master. You can leave the Y-cable attached as it is for now. Power on your XBOX and if all is well you will be greeted by the start up screen and then the main menu. From here you can swap the old HDD out (more on that in a minute.) and put everything back together because you are done. If it fails you will see an error screen and you will need to go back to the LPartx portion of this guide and carefully check each step.
To switch out the HDD itself isn’t to bad. You will need to remove all cables from the HDD. You can put away to Y-cable as well because we are done with it. Underneath the ribbon cable at the center is a screw that you will need a T8 torx bit for.
Then the tray that the HDD sits in will come out completely.
At the side of the tray may have a little clip holding the IDE power cable just carefully un-clip it to pull the tray out completely. Then on both sides of the tray are two screws. You will need the T10 torx for these guys.

Now that, that’s done take that old HDD and chuck it somewhere because what are you gonna do with 5 to 10 GB? nothing that’s what. Take your new HDD and place it in the tray. Match up the screw holes on the sides to the holes in the tray and screw that baby in place.
You will then need to carefully place the tray back into the XBOX shell this can be a pain since it may get snagged on the way down. Don’t be afraid to be a bit forceful. once it’s in put that screw back into the tray. Put the top cover of your XBOX back on and flip it over to screw in those screws.
You have now successfully swapped out your XBOX HDD. Wasn’t that fun? Maybe! Now go and rip those games. What was that? You don’t know how to do that? Well maybe I might do a tutorial on that as well. We will see.
thank you. really thank you.
I know this is a bit old, but uh… What am I doing wrong that causes the screen to go blank (black) and stay black for 15sec, meanwhile the fan speeds kick up and then it shuts off? I’ve tried various ways, but once I try entering CHIMP, its done.
i had the same problem. i was using hd component cables. i finally got it to show up when i put the original composite cables (red,yellow,white) back in. hope that helps.
what happens if you dont lock the hard drive just curious
I would HIGHLY recommend NOT “chucking the drive somewhere” and actually keeping it very safe as a backup/resale drive. Softmods go wrong a lot and each HDD is locked to the motherboard of that particular system. If you lose your softmods and have no eeprom backup the Xbox is a brick.
Also if you don’t lock the HDD the Xbox will not boot and will brick unless you can lock it, usually only on the original system, or a modchio system which are harder to come by…
On that not this link helped my restore my HDD (hopefully still running) to a default softmods state. But please DO NOT leave or unlock the HDD for any reason. I bricked mine for 7 years and finally blew the dust off using the original HDD eeprom and config magic